A Handy Guide to Removing Caulking
Let’s face it, sometimes silicone caulk—that ubiquitous sealant used for everything from windows to bathtubs—doesn’t quite live up to the promise of a long-lasting, smooth finish. It may start looking cracked, faded, or even just plain messy. When that happens, you might find yourself staring at a stubborn bead of caulk with an urge to rip it out by hand!
Before you dive in with brute force, it’s essential to understand what dissolves silicone caulk, which is crucial for the success of your caulking removal project. This guide will delve into the specifics and equip you with the knowledge to tackle any silicone caulk challenge.
Understanding Silicone Caulking
Silicone caulk isn’t just a random gooey substance; it’s a specialized sealant offering a unique set of advantages and disadvantages. It’s known for its flexibility, weather-resistance, and ability to hold its shape over time. It expands and contracts with changes in temperature, making it ideal for sealing gaps around windows, doors, bathtubs, sinks, and other fixtures.
However, these very qualities that make silicone caulk so versatile can pose a challenge when you need to remove it. Silicone is known for its resistance against water and most solvents; this means traditional cleaning products or DIY solutions might not be as effective.
What Dissolves Silicone Caulking?
The process of removing silicone caulk hinges on understanding what dissolves the sealant, making sure you have the right tools and techniques for a successful cleanup.
Here’s a rundown of common solutions that can break down that stubborn caulk:
1. Solvent-Based Cleaners
These are your workhorses! They’re available in various forms: commercial solvent cleaners, DIY mixes with petroleum thinner or rubbing alcohol, and even specific caulk removers. When choosing a solvent-based cleaner for silicone caulking removal, always prioritize chemical compatibility with the type of caulk you’re dealing with.
Here’s how to use them:
- Apply the cleaner to the area where silicone caulk is found. Let it sit for a few minutes, allowing the solvent to begin breaking down the sealant.
- For stubborn areas, gently scrape away any loosened caulk with a putty knife or scraper before thoroughly cleaning the surface.
- After applying and waiting, use warm water and a soft sponge to wash away any remaining cleaner or residue.
2. Heat
If you’re dealing with dried-out caulk, heat might be your best friend! A hairdryer on low setting can soften the sealant before scraping it off. However, too much heat could warp or melt the surrounding surface, so proceed with caution.
3. Commercial Caulking Removers
These specialized products are designed to tackle stubborn caulk without damaging the surrounding surfaces. They’re available in both spray and wipe-on forms, making them easy to use. Always check the manufacturer’s instructions for proper usage.
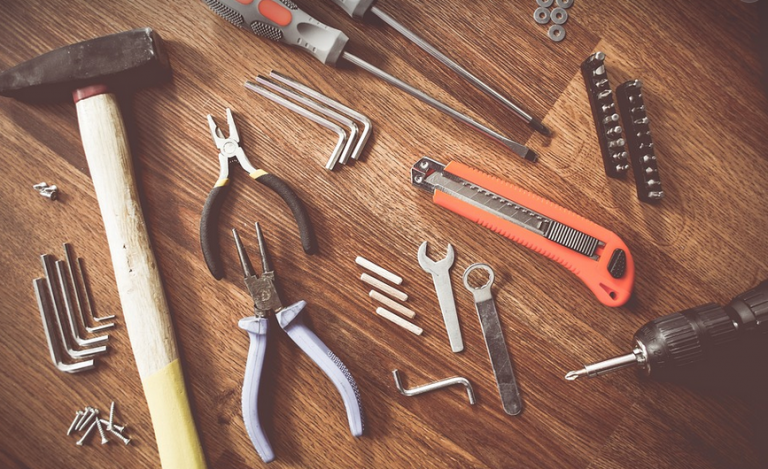
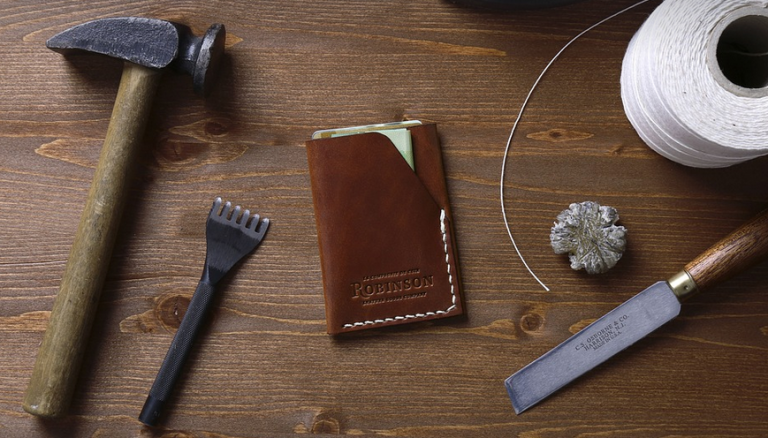
4. Specialized Tools**
Tools can make a difference when removing silicone caulk! Here are some options:
- **Putty Knives:** These are your workhorse tools to scrape away loosened caulk, especially for hard-to-reach areas.
- **Epoxy Scraper:** This tool is particularly useful when dealing with thicker layers of caulk or uneven surfaces.
Safety First!
Working with solvents and heat requires careful handling and precautions. Wear gloves, goggles, and a mask to protect yourself from fumes and splashes. Ensure adequate ventilation in your workspace to prevent buildup of hazardous fumes.
If you’re working on a large area or have any doubts about the safety of a particular removal method, consult with a professional for assistance.
Time Management & Patience**
Removing silicone caulk can take some time and effort, especially if it’s been there for a while. It is important to be patient as you work and avoid rushing the process. The better your approach, the more likely you are to achieve a successful cleanup.
A Final Note
Removing silicone caulk can often feel like a daunting task, but it doesn’t have to be! With the right knowledge, tools, and patience, you’ll get the smooth finish back that you always wanted. Whether using solvents or heat, remember to proceed with caution, prioritize safety, and never underestimate the power of a good old- fashioned scraping tool!