The Grubby Truth About Tub Grout: Why It Matters and How to Fix it
Let’s face it, your bathroom is a sanctuary of sorts. A place where you unwind after a long day – or at least try to! But sometimes, even the most serene space can be marred by a stubborn, grimy problem: that dark and unkempt grout in your bathtub.
Grout and caulk are essential for keeping water out of your tub, walls, and floor. It’s often overlooked as a critical part of bathroom maintenance, yet it can be the source of leaks, discoloration, mold buildup, and even structural damage if left neglected.
Imagine this: you step into your luxurious bath after a long day, only to have the grout in your tub looking like a faded, uneven mess. The water may seep through, leaving unsightly stains on the surrounding walls and floors. And that’s not all! Moisture trapped between the grout lines can create an inviting environment for mold. It’s no fun trying to ignore these issues or pretend they don’t exist.
So, what do you do? Take a deep breath and embrace the challenge of bathtub grout & caulk repair. This guide will walk you through the process step-by-step, transforming your bathroom from drab to fab in no time.
Ready for Some Grout Magic: Understanding the Basics
Before diving into the repair, let’s understand what makes grout so important. Grout is essentially a sealant that fills the gaps between tiles within your tub. It acts like a protective shield, preventing water from seeping through and causing damage.
The type of grout you choose depends largely on your application: Epoxy grout, for instance, is known for its durability and resistance to stains. However, it requires more specialized skills and tools.
Caulking, on the other hand, serves as a waterproof barrier between tiles and surfaces. It fills joints, preventing water seepage – especially crucial around your tub’s edges where water tends to pool more frequently.
Choosing the right grout and caulk is key! Do you have a standard bathroom with regular tile work? If so, a DIY-friendly option might be the best choice for you. If not, don’t hesitate to consult a professional. They can provide valuable expertise on selecting the most suitable materials based on your specific needs.
The Repair Process: A Step-by-Step Guide
The process of repairing grout and caulk may seem daunting initially, but fear not! It’s more manageable than you might think. Follow these steps:
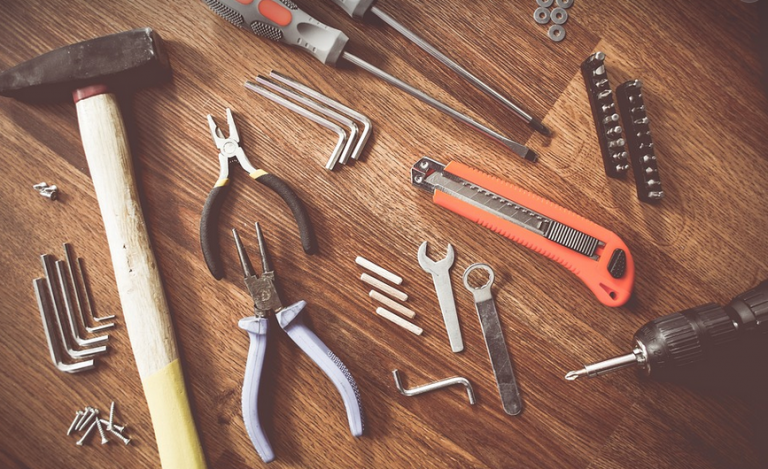
- **Preparation:** This is where the magic starts! Begin by gathering your tools: a trowel, a bucket, grout removal tool, caulk gun, and a small paintbrush. You’ll also need a sponge for cleaning and a masking tape to cover surrounding area.
- **Removal of old grout:** Carefully remove any loose or damaged grout with your grout removal tool and a soft-bristled brush. Don’t forget to wear gloves as some glues may be quite potent!
- **Cleaning and Preparation:** Once you have removed the old grout, clean the area thoroughly using your sponge and a water-based cleaner. Let it dry completely before proceeding.
Grouting: Time to Inject Some Color into Your Bathroom
The moment we’ve all been waiting for! Grout color selection is crucial. Match the grout color with your tiles, creating a cohesive and visually appealing design.
When applying grout, apply it in smooth and even strokes, pressing it firmly into each tile gap. Don’t be afraid to use a trowel at varying angles for a seamless finish.
Remember to work quickly to avoid the grout drying too quickly before you can fully blend it with your tiles!
Caulking: Sealing the Deal
Once the grout is applied, it’s time to seal in the results. Caulking acts as a waterproof barrier between your tiles and surrounding walls or floors. Apply it with a caulk gun, starting from the edges of the bathtub and working inwards.
Caulking tools come in various shapes and sizes depending on the application. Look for a silicone-based caulk designed to resist water damage in most cases.
Finishing Touches: A Polished Look for Your Bathroom
After completing your grout and caulk repair, you can add final touches. If your tiles need cleaning, use a mild cleaner or a diluted bleach solution to remove stubborn stains.
Finally, allow the grout to dry completely before showering or bathing. Remember that excessive moisture can damage the newly applied grout!
Pro Tips for Grout and Caulking Success:
Here are some pro tips to help you achieve a flawless grout repair:
- **Ventilation is key:** Ensure good ventilation in your bathroom to prevent the grout from drying too quickly.
- **Wear protective gear:** Always wear gloves and eye protection to avoid any potential contact with harsh chemicals.
- **Test colors & materials**: You can always test out different color combinations and caulk types before committing to the whole project.
Embrace Your DIY Prowess: Repairing Grout and Caulking
Repairing grout and caulking your bathtub may seem like a daunting task, but with a bit of patience and these steps, you can transform your bathroom from drab to fab. By following this guide and staying confident in your abilities, you’ll be well on your way to achieving a clean, polished look for your space.
**Remember:** If you’re ever unsure about any aspect of the repair process, don’t hesitate to consult with a professional. A little help goes a long way!