A Simple Guide for DIY Enthusiasts
Your Mini Cooper is a fun, stylish machine that brings joy to every drive. However, like all vehicles, it needs regular maintenance to keep those wheels turning smoothly and safely. One crucial part of that care is regularly checking and replacing your brake pads.
Brake pads are the unsung heroes of your car’s braking system, silently working behind the scenes to convert kinetic energy into a halt. Over time, friction wears down these vital components, leading to reduced stopping power and potentially even more dangerous situations. It’s important to replace them before they reach the point of no return, when you could find yourself in a bind.
If you’re mechanically inclined and comfortable with a little tinkering under your hood, changing your Mini Cooper’s brake pads can be a surprisingly straightforward process. This guide will walk you through every step so you can confidently tackle this essential maintenance task.
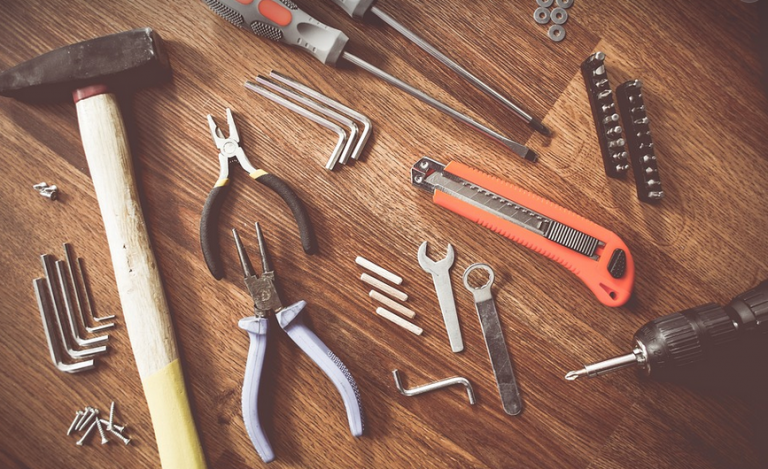
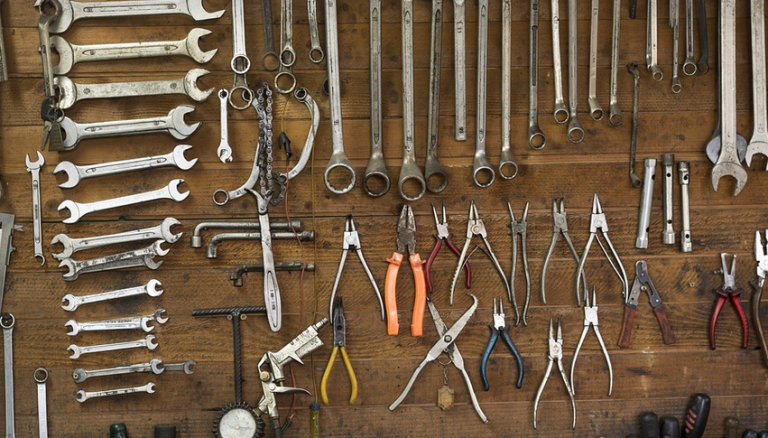
Before You Begin: The Essential Tools and Supplies
To replace your Mini Cooper’s brake pads, you’ll need the following tools and supplies:
- A set of sockets and wrenches : These will be crucial for loosening and tightening bolts that hold the caliper to the car.
- Jack and jack stands: You’ll need a sturdy jack to lift your Mini Cooper and secure it safely on jack stands. Safety first!
- Brake pad lubricant : Applying this after installation helps minimize squealing noise when you hit the brakes.
- A small screwdriver or pry bar : For removing clips and other smaller parts that hold the brake pads in place.
- Gloves: Protect your hands from grime, dirt, and any potential spills.
The Importance of Safety
Before you begin dismantling your Mini Cooper, prioritize safety. Make sure the car is securely parked on a level surface and engage the parking brake. If working alone, always use jack stands for added security, preventing the car from rolling.
Understanding Your Brake System
For those who enjoy exploring the inner workings of their vehicles, understanding your Mini Cooper’s braking system can be beneficial. The brakes are essentially a series of components connected to the wheels. The caliper, with its pistons and pads, is responsible for applying pressure on the brake rotor.
Brake Pads: More Than Just Friction
Brake pads are not just about friction; they’re designed for smooth stopping power and even wear over time. They often come in different materials and compounds to optimize this function. Understanding these materials can help you choose the right ones for your Mini Cooper based on your driving style and needs.
Removing the Brake Pads
With all safety precautions in place, it’s time to remove the old brake pads. First, locate the caliper bolts holding the caliper onto the car. You’ll need a wrench to loosen these bolts. Once loosened, carefully pull the caliper away from the rotor.
The Brake Caliper: A Key Part of the System
Once you detach the caliper, you’ll see the brake pads. There will be small metal clips holding them in place. You can use a small screwdriver to gently pry these clips and remove them. This allows you access to the brake pads for replacement. Be careful not to damage the brake caliper during this process.
Installing New Brake Pads
With the old brake pads removed, it’s time to install new ones. Place the new pads into their respective positions and secure them using the clips or bolts that hold them in place. The installation should be done with care; ensure the pads are aligned properly.
The Importance of Even Wear
When installing the new brake pads, pay close attention to even wear patterns. This ensures your brakes function at optimal efficiency and longevity.
Reinstall the Caliper
After you’ve installed the new brake pads, carefully reinstall the caliper on the rotor. Ensure it is aligned properly before tightening the bolts using the wrench, following the manufacturer’s instructions for proper torque.
Lubrication: A Quick Touch to Minimize Noise
Before re-attaching the wheel, apply a small amount of brake pad lubricant to the pads and ensure they slide easily. This simple touch can help prevent any squeaking or squealing when you hit the brakes.
Final Steps: A Few More Tips
Once everything is back in place, double-check your work. Ensure all bolts are tightened securely, and the wheel aligns properly with the caliper. If you’ve used new brake pads, remember to test the brakes before driving your Mini Cooper.
Regular Maintenance: The Importance of Brakes
Changing brake pads is just one part of maintaining the health of your Mini Cooper’s braking system. You should consider getting them checked by a professional at regular intervals, like every 10,000 miles or so. This helps ensure they continue operating smoothly and efficiently.
The Joy of Driving – Responsibly
Now that you’ve successfully replaced your Mini Cooper’s brake pads, you can feel a sense of accomplishment and pride. Your car is ready for the open road, with brakes that will stop you safely without compromising on performance. Remember to always drive responsibly, respecting traffic rules and ensuring a safe journey for yourself and others.
Keep these tips in mind as you enjoy your Mini Cooper’s driving experience. Regular maintenance, like changing brake pads, ensures a smoother ride for years to come!