Why Removing Sharkbite Clamps Can Be a Challenge
Sharkbite clamps have gained immense popularity for their ease of use and quick installation. However, sometimes we need to remove these clamps, whether it’s due to plumbing issues or remodeling projects. But removing them can sometimes prove a bit tricky if not done with the proper approach.
Before diving into the removal process, let’s clear some common reasons for wanting to remove Sharkbite clamps:
- **Plumbing Repairs:** Repairing leaks, installing new fixtures or appliances, or replacing pipes often necessitates removing Sharkbite clamps.
- **Home Remodeling:** A major remodeling project might require removing Sharkbite clamps for plumbing rerouting or a complete renovation of the water system.
- **DIY Projects:** Even small DIY projects like installing extra outlets or sinks can sometimes involve removing Sharkbite clamps.
Understanding the Mechanics
Sharkbite clamps utilize a unique design with a plastic-lined clamp that seals around a pipe connection. However, their “easy” installation doesn’t always translate to effortless removal. Remember, the key is understanding their mechanics before attempting any removal process:
1. **The Seal:** The seal is the heart of Sharkbite clamps. It’s designed for quick and easy installation but can resist unyielding pressure after repeated use.
2. **Clamp Size:** Different sizes offer different levels of tightness, which directly impacts the removal process.
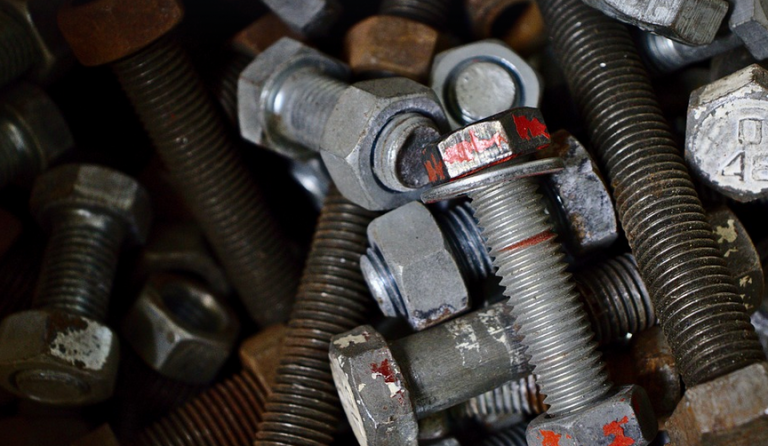
3. **Pipe Material:** The material of the pipe influences how the clamp holds onto it and thus its ease or difficulty to remove.
4. **Installation Technique:** A crucial point is remembering that Sharkbite clamps are designed for a particular installation technique. It’s essential not to force them, as this can damage the seal and potentially lead to leaks.
5. **Tools and Techniques:** Knowing what tools to use and how to apply them correctly plays a vital role in safe and efficient removal. This guide will outline some of these techniques.
Step-by-Step Removal Guide
Let’s take a closer look at the steps involved in removing Sharkbite clamps effectively:
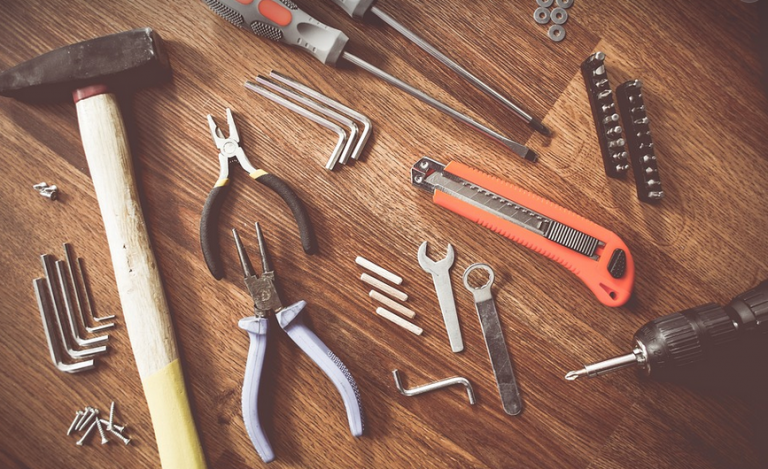
- Pre-Removal Prep: Before starting, ensure a clear workspace and protect surrounding areas from potential splashes or spills. You might want to gather necessary tools like pipe wrenches, pliers, screwdrivers, and possibly a small pry bar.
- Gentle Loosening: **Use your pipe wrench to gently loosen the clamp’s connection around the pipe. Apply firm but controlled pressure in the direction of the tightening force. Focus on easing the clamp rather than applying excessive force that could damage the seal or the pipe.
- Secure Grip: **Once loosened, use a pliers or a wrench to grip the clamp’s body firmly. You might need to apply a little pressure to get it moving.
- Leverage and Rotation: **Gently rotate the clamped part of the pipe in a circular motion. This may slightly loosen the clamp, but if it feels stuck, don’t push too hard!
- Pulling or Prying: **If using pliers, apply even pressure while gradually pulling the clamp away from the pipe. If you encounter resistance, use a small pry bar to gently lift and rotate the clamp for smoother removal.
- Securing the Pipe: ** Once the Sharkbite clamp is removed, ensure your pipe connection is secure. You might need to re-align it slightly or tighten the connections.
Troubleshooting Common Issues
While removing Sharkbite clamps can be straightforward, you may face some challenges during the process.
- **Stuck Clamps:** If your clamp is stuck and difficult to remove, try using a combination of techniques: gentle loosening with pliers, applying pressure on both sides, or even using a small pry bar for additional leverage.
- **Damage to Seal:** Avoid forcing any part, as it could damage the seal. For stubborn clamps, refer to the manufacturer’s instructions for proper removal and care instructions.
- **Pipe Material Issues:** Some pipes might be more challenging to remove than others due to their material. For instance, softer pipe materials can be moved more easily, while harder ones require more finesse and patience.
Safety First: A Reminder
Safety is paramount! Use appropriate safety gear such as gloves and eye protection throughout the removal process.
Always disconnect the power supply (if applicable) and turn off any valves before starting work.
Be mindful of your surroundings, especially when using tools near other plumbing parts or fixtures.
Conclusion: A Smooth Approach for Removal
Removing Sharkbite clamps might seem daunting at first, but with the right techniques and a calm approach, it can be a straightforward process. Remember to prioritize safety throughout the process!
Keep in mind that this guide provides general advice. Always refer to your specific Sharkbite clamp manufacturer’s instructions for proper removal methods and ensure you are working safely.
Let me know if you need any additions or adjustments; I’m here to help.