Tackling those stubborn caulk joints
Ever looked at a brick facade and noticed a line of caulk that’s lost its luster? Perhaps it’s time for a refresh, or maybe you need to address some structural cracks – either way, removing old caulking can be tricky. Don’t worry! This guide will walk you through the process in easy-to-follow steps, helping you achieve the clean, smooth look you desire.
Why is caulking removal a necessary task? Well, think of it as giving your brick walls a makeover. The constant exposure to weather and time takes its toll on even the most durable materials like caulk. This can lead to fading, cracking, or even mold growth. Replacing old and deteriorated caulk with fresh, high-quality options not only enhances aesthetics but also adds an extra layer of protection to your brick walls.
The Tools of the Trade
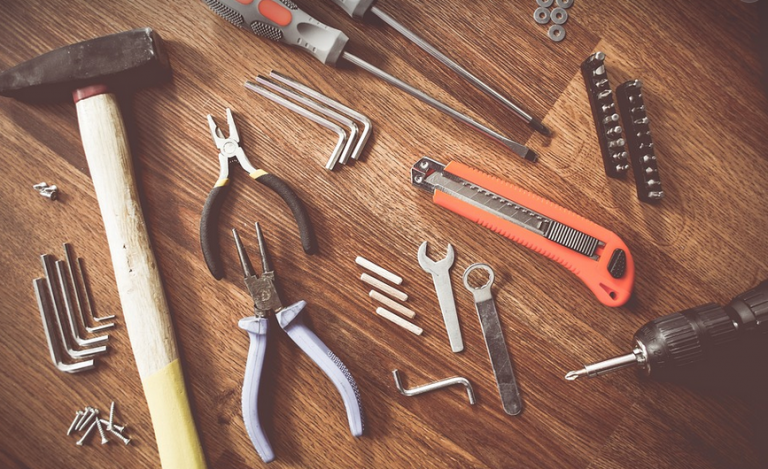
Before you dive into removing those stubborn caulk joints, equip yourself with the right tools; otherwise, the process will be a chore. Here’s what you’ll need:
* **Utility Knife:** This trusty tool is essential for trimming away excess caulk and scoring it to loosen its grip on the brick surface. Choose a sharp blade for clean cuts. * **Scrapers:** A variety of scrapers will come in handy! Use flat-head and angled scrapers to gently remove stubborn caulking residue, preventing scratches or damage to your brickwork. A putty knife can also work wonders when it comes to removing larger sections of caulk. * **Gloves:** Protecting your hands is paramount, especially when dealing with harsh chemicals that may be present in some types of caulk (like silicone). Invest in a good pair of gloves for comfort and safety. * **Bucket & Water:** Cleaning up the mess isn’t just about the environment; it’s about ensuring you don’t spread dust or debris around your work area. A bucket will help you collect the softened caulk and wash away any remaining residue with water.
The Process: Step by Step
With your tools at hand, let’s begin! Removing caulking from brick requires a systematic approach to ensure proper results.
1. **Preparation:** The first step is to assess the area where you want to remove the caulk. Consider any potential safety hazards, like power lines, before you start. Once the area is safe and clear, cover the surrounding surfaces with dropcloths or plastic sheeting to protect them from splashes or spills.
2. **Cutting:** Before diving into scraping, use a utility knife to score a line around the caulk. This will help create controlled breaks, making it easier for the scraper to loosen the caulk without damaging the brick surface. Apply gentle yet firm pressure as you work your way along the joints. 3. **Scraping and Removing:** Use a flat-head scraper to gently lift away the loosened caulk from the corners. Work in sections to avoid excessive force that could damage the brickwork. If needed, use an angled scraper for harder-to-reach areas. 4. **Cleaning Up:** Once you’ve removed all the old caulk, rinse your scraper with water after each pass and dispose of any used scrapers properly. You might want to clean up the area using a damp cloth or sponge afterwards. 5. **Inspecting and Re-sealing (optional):** After removing old caulk, take a look at the brickwork for any signs of damage. If you notice cracks or uneven surfaces, it’s best to address those issues before applying new caulk. Remember to always follow manufacturer instructions when reapplying caulk.
Tips and Tricks
Removing caulk doesn’t have to be a daunting task; there are numerous tips and tricks to make the process smoother:
* **Work Slowly:** Don’t rush! Focus on meticulous cleaning and removal of each caulk joint, one at a time. This will help you avoid damaging your brickwork and ensure a clean, professional finish. * **Check for Cracks:** Before you start using a scraper, examine the area carefully to identify any cracks or uneven surfaces. Addressing these issues before applying new caulk will prevent future problems. * **Use Low Pressure:** Avoid pressing too hard with your scraper; it could result in chipping or damaging the brickwork. Use gentle pressure and work from one end of the joint to another, making sure the entire caulk is lifted as a single unit.
Finishing Touch: Cleaning and Protecting
The final step is to clean up any leftover debris or dust and ensure everything is dry before sealing your brickwork. You can use a damp cloth with a mild detergent solution if needed. Once everything is cleared, consider applying a sealant to the brick facade.
**A Final Note:**
Removing old caulk from brick might seem like an intimidating task, but it’s easily achievable by following the steps provided here. With the right tools and approach, you’ll end up with a clean, polished look for your brick walls. Remember, patience is key! Take your time, work carefully, and you’ll be rewarded with a beautiful and revitalized facade.